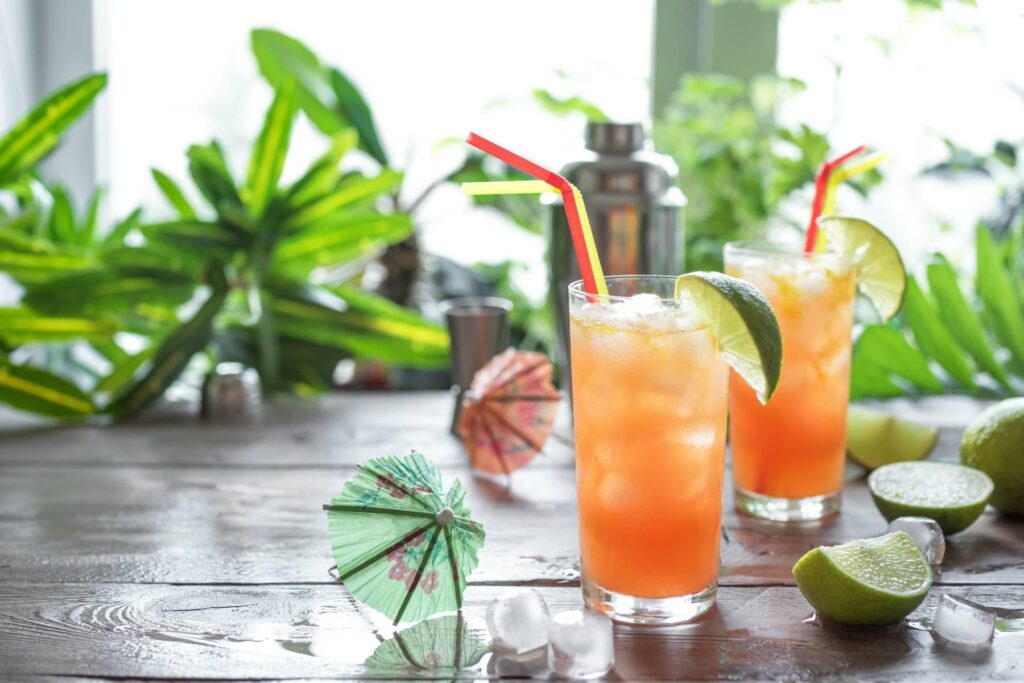
With the pandemic limiting travel plans to a handful of countries or a staycation in 2021, you may be daydreaming about whiling away the hours sat sipping cocktails at a tropical beach bar.
But by building your own DIY tiki bar, you can bring a taste of the tropics to your own garden or roof terrace and add a really fun touch to your property.
Here, we’ll explain how you can build your own tiki bar and we’ll show off some of the best DIY tiki bars on Pinterest to inspire you…
How much does it cost to build a tiki bar?
It’s possible to build your own tiki bar from timber and decking boards for £400 to £500.
Alternatively, you could try building a smaller tiki bar from old pallets for less, but the end result may be less appealing.
A DIY tiki bar: How to make one for your garden
By building you own tiki bar, you can create a brilliant entertaining space for when the weather is warm, and the chilled drinks are flowing.
A unique tiki bar is also a huge talking point and great fun for when you have guests visiting your home.
Here’s what you’ll need to build your own tiki bar and the steps you’ll need to take…
What you’ll need:
• 44 x 44mm timber for framing
• 25 x 120mm decking boards
• 75 x 75mm fence posts
• 45 x 95mm timber for bar brackets
• Decking screws
• Wood screws
• Wood preserver
• Workbench
• Chop saw
• Hand saw
• Electric or battery drill
• Hammer
• Protective goggles
• Gloves
• Sandpaper
• Measure
• Spirit level
• Small step ladder
• Pencil
1. Select where your tiki bar will sit
For stability, your tiki bar should sit on a solid, level surface.
Either concrete, patio slabs or a timber decking area are perfect spots to place your bar.
2. Work out your measurements
Work out how wide you want your tiki bar’s front to be, as well as the depth of each side panel.
An ideal size for your front panel is 1500mm x 900mm, with 945mm x 900mm side panels.
At that size, you’ll need four fence posts upon which your tiki bar roof will sit. Your front posts should be cut to a height of 2000mm and the rear posts to a height of 1800mm.
All posts should have their tops trimmed at an angle of 15 degrees, so your roof is slanted backwards.
The five roof panel frames should be cut to create a frame that measures 1700mm x 1200mm
Finally, you’ll need to cut eight bar brackets from the 45 x 95mm timber. These can be cut to 125mm x 95mm and then trimmed to an angle of 45 degrees.
3. Cut all your wood and start creating your panels
Cut all your timber frames to size and screw them together to create your front, side and roof panels.
Then cut your decking boards to size and screw into your panels so you have the three sides of your bar and your roof.
4. Connect your panels
Screw your side panels into your front panel to create a ‘U’ shape then sit the panels up so the front is facing outwards.
5. Add your four fence posts
Screw your four posts into the panel frames, ensuring that the 15 degree angle is sloping backwards.
6. Fit your roof
Using your step ladder, sit your roof on top of the four fence posts and screw into place.
7. Now for your bar
Screw eight of your 10 bar brackets into place, spreading them evenly across the front and side panels of your tiki bar.
8. Fit the bar
Cut some decking boards to size and screw into the top of the bar brackets to create your bar.
9. Finishing touches
Cut some remaining decking board and fit as fascias to the front and sides of where your roof meets your fence posts for a nice finishing touch.
Then add decking boards to the base of your front and side panels, before screwing your remaining two bar brackets into the rear panel at a comfortable height.
Then, finally, screw decking boards into the top of the two brackets, creating a rear shelf.
10. Timber treatment
Once your tiki bar is completed, allow the wood to adapt to the outdoor conditions for a week or two, before applying an even coat of wood preserver.
Tiki bar inspiration
Once you’ve built your tiki bar, it’s all about personalising it to work in your space and show off your personality.
Here’s some great inspiration…
1. A backyard tiki bar
Whatever the size of your back garden, if you have a hard-standing area, you can have a tiki bar.
This example is constructed from decking boards and sits neatly on an existing patio – keeping costs to a minimum.
2. Add paint for a great effect
If you’re keen to add some colour to your tiki bar, don’t be afraid to go bold and showcase your personality.
And if you’re feeling really fun, why not name your tiki bar and create a sign to hang from it?
3. Don’t forget to light it up
During the summer, you’ll be using your tiki bar to entertain, so don’t forget to hang lights around the frame to create a great atmosphere for al-fresco drinks.
Further reading…
• Your guide to outdoor planning permission